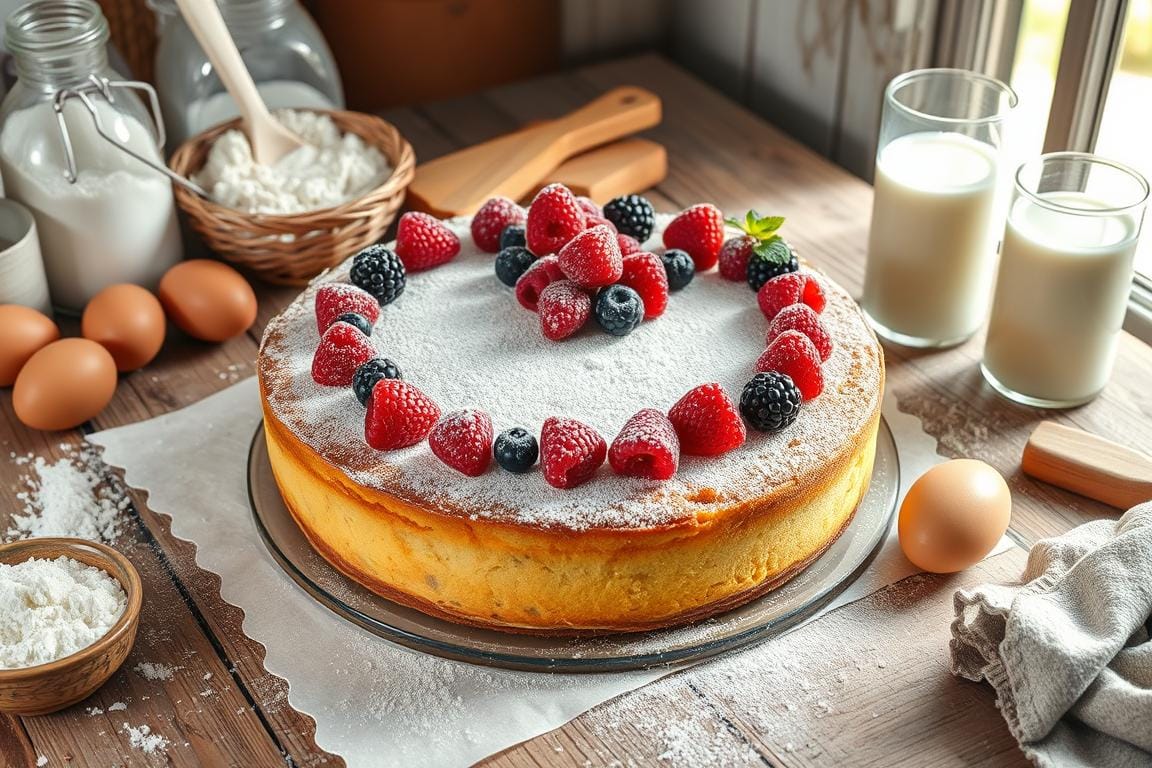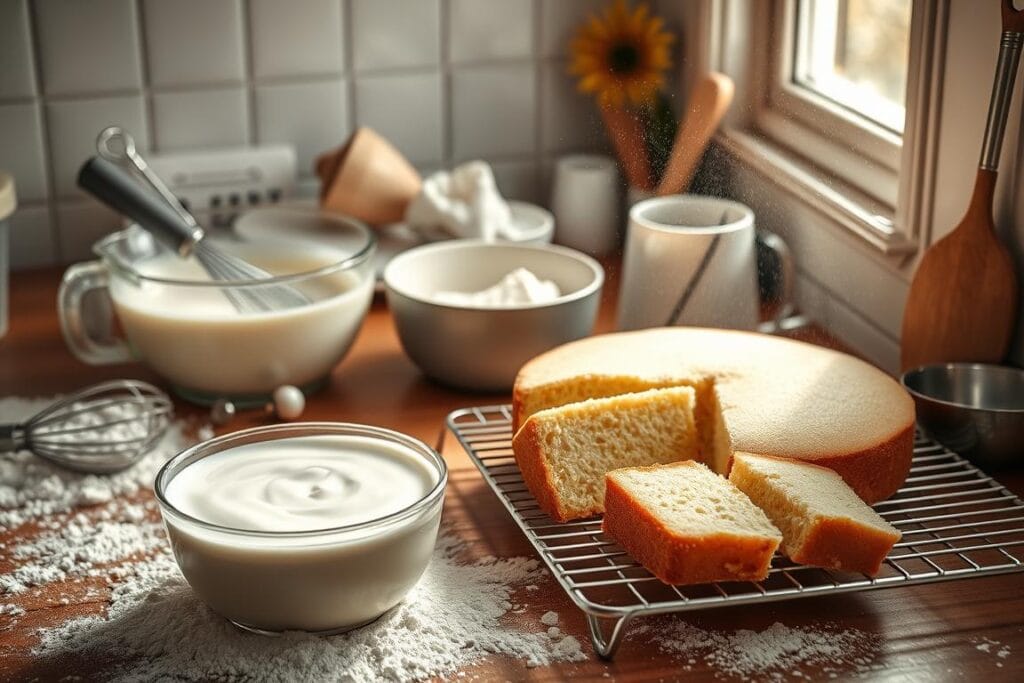
Unlock the magic of kefir baking recipes and transform your desserts into moist, flavorful, and probiotic-rich delights. From cakes to dinner rolls, kefir brings a tangy twist and health benefits to every recipe you try.
Picture biting into a slice of fermented milk cake that’s so tender it melts. That’s what happens when you bake with kefir. This guide will show you how to make amazing kefir sheet cake recipes that are tasty and healthy.
Baking with kefir is more than making desserts. It changes how you cook at home. These recipes will make your family dinners and birthday parties unforgettable.
Key Takeaways
- Discover the versatility of kefir in baking
- Learn how to create moisture-rich cakes
- Explore healthier baking alternatives
- Understand the nutritional benefits of kefir
- Master techniques for perfect kefir-based desserts
Understanding Kefir in Baking
Exploring probiotic desserts can be exciting for bakers. Kefir is a great addition to your baking. It changes traditional recipes in amazing ways.
Learn more about kefir sheet cakes to explore this magical ingredient’s potential.

What is Kefir and Its Properties
Kefir is a fermented milk drink full of nutrients. It has a creamy texture and a tangy taste. This makes it perfect for baking.
It adds several important things to your recipes:
- Protein content: 8-11g per cup
- Calcium: 300mg per serving
- Probiotic-rich composition
- Smooth, creamy consistency
Benefits of Using Kefir in Baked Goods
Adding kefir to your recipes makes a big difference. It makes baked goods more moist and tender. It also adds extra nutrition.
- Enhanced moisture in baked goods
- Improved texture and tenderness
- Natural tenderizing effect
- Additional nutritional value
Kefir vs. Buttermilk in Recipes
“Kefir is not just a substitute, but an upgrade to traditional baking ingredients.”
Buttermilk is common in baking, but kefir is more nutritious. You can use both in recipes, but kefir has more probiotics.
| Characteristic | Kefir | Buttermilk |
|---|---|---|
| Probiotic Content | High | Low |
| Protein per Cup | 8-11g | 8g |
| Flavor Profile | Tangier, more complex | Milder |
Essential Tips for Baking with Kefir
Mastering kefir in your baking is all about knowing some key techniques. These tips will help you make a quick cake recipe into a masterpiece. Whether you’re making a healthy cake or trying a new kefir recipe, these tips will improve your baking.
Temperature Considerations
Starting with the right ingredient temperature is key to successful kefir baking. Use room-temperature eggs and butter for smooth blending and a great rise. Take kefir out of the fridge about 30 minutes before mixing to get it to room temperature.
- Room-temperature ingredients blend more evenly
- Kefir at ambient temperature integrates better with other ingredients
- Consistent temperature helps achieve uniform cake texture
Mixing and Handling Techniques
The secret to a perfect kefir-based cake is gentle mixing. Overmixing can make the cake tough. Use a light hand when mixing to keep the cake’s delicate structure.
| Technique | Benefit |
|---|---|
| Fold ingredients gently | Preserves air bubbles for lighter texture |
| Use low-speed mixing | Prevents overdeveloping gluten |
| Mix until just combined | Maintains cake’s soft, tender crumb |
Storage Guidelines
Proper storage keeps your kefir-based baked goods fresh and tasty. Store cakes in an airtight container at room temperature for up to 3 days. Or refrigerate for longer freshness.
“Baking is a science, but kefir adds a delightful touch of culinary magic!” – Baking Enthuasiast

By following these tips, you’ll make moist, flavorful cakes with kefir. Your baking will not only taste great but also be healthier thanks to kefir’s probiotic benefits.
Classic Kefir Sheet Cake Recipe Card
Get ready to transform your baking with this delightful kefir sheet cake recipe card. This easy sheet cake combines kefir and traditional baking. It creates a moist, flavorful dessert that will impress your family and friends.
- 2 cups all-purpose flour
- 1 cup granulated sugar
- 1 cup plain kefir
- 2 large eggs
- 2 tablespoons melted unsalted butter
- 1 teaspoon vanilla extract
- 1 teaspoon baking powder
- ½ teaspoon baking soda
- ¼ teaspoon salt
“Baking is love made edible, and kefir makes it even more special!” – Artisan Baker
Preparing this delectable kefir sheet cake is straightforward:
- Preheat your oven to 350°F (175°C)
- Grease a 9×13 inch baking pan
- Mix dry ingredients in one bowl
- Whisk wet ingredients in another bowl
- Combine wet and dry mixtures gently
- Pour batter into prepared pan
- Bake for 25-30 minutes
Professional baking tip: The kefir sheet cake recipe card works best when you avoid overmixing. Gentle folding ensures a light, tender crumb that melts in your mouth.
| Ingredient | Quantity | Purpose |
|---|---|---|
| Kefir | 1 cup | Adds moisture and tang |
| Eggs | 2 large | Provides structure |
| Baking Powder | 1 teaspoon | Helps cake rise |
Your homemade kefir sheet cake can be stored in an airtight container for up to 3 days. It’s a perfect make-ahead dessert for busy home bakers.
Discover how to incorporate this recipe into your repertoire by checking out the kefir sheet cake recipe card.
Kefir Honey Pound Cake: A Perfect Starting Point
Discovering kefir cake can change your baking. It mixes fermented milk’s tang with honey’s sweetness. This makes a treat that’s both healthy and tasty.
Ingredients for Success
Choosing the right ingredients is key for your kefir honey pound cake. Here’s what you’ll need:
- 2 cups all-purpose flour
- 1 cup kefir
- 1 cup granulated sugar
- ½ cup unsalted butter
- 2 large eggs
- ¼ cup honey
- 1 tsp vanilla extract
- 1 tsp baking powder
- ½ tsp salt
Baking Equipment
Get your kitchen ready with these tools:
- 9-inch tube pan
- Electric mixer
- Measuring cups and spoons
- Wire cooling rack
- Mixing bowls
Step-by-Step Baking Instructions
- Preheat oven to 350°F (175°C)
- Grease and flour a 9-inch tube pan
- Cream butter and sugar for 1 minute
- Beat in eggs one at a time
- Add honey and vanilla, mix well
- In a separate bowl, mix dry ingredients
- Slowly add dry ingredients to wet mixture, alternating with kefir
- Mix until smooth, with no flour lumps
- Pour batter into prepared pan
- Bake 40-45 minutes
- Check with a toothpick
- Cool on wire rack for 15 minutes
- Remove from pan, cool completely
Troubleshooting Common Baking Issues
| Problem | Solution |
|---|---|
| Dry Cake | Reduce baking time, check oven temperature |
| Sunken Center | Avoid overmixing, check baking powder freshness |
| Tough Texture | Mix ingredients gently, don’t overmix |
Pro tip: Let your kefir come to room temperature before baking for the most consistent results!
This kefir honey pound cake is a great start to baking with fermented milk. Each slice has about 250 calories. It’s a perfect mix of probiotics and sweetness.
Kefir Dinner Rolls: Soft and Fluffy
Discover the magic of baking with kefir through these delightful dinner rolls. They turn your ordinary bread basket into a probiotic-rich culinary experience. These rolls show how kefir can make your baking spectacular.
Creating soft and fluffy dinner rolls needs precision and the right ingredients. Kefir is a great healthy cake alternative. It adds moisture and a subtle tangy flavor to your baking.
Looking for more variations? Try adding cinnamon for a sweet twist like in this cinnamon roll bundt cake.
Ingredients for Perfect Kefir Dinner Rolls
- 3 cups all-purpose flour
- 2 1/2 teaspoons instant yeast
- 1 teaspoon salt
- 1 large egg
- 1 cup lukewarm milk kefir
- 2 tablespoons olive oil
- 2 tablespoons honey
Your kefir recipe card will become a treasured resource with this simple yet delicious approach to bread making. The unique properties of kefir help create rolls that are incredibly tender and light.
Baking Process
- Combine dry ingredients in a large mixing bowl
- Whisk wet ingredients separately
- Blend wet and dry mixtures until a soft dough forms
- Knead for 8-10 minutes
- Let rise in a warm place for 1 hour
- Shape into rolls
- Bake at 375°F for 15-18 minutes
“Kefir transforms ordinary dinner rolls into a nutritious, flavor-packed experience that your family will love!” – Baking Enthuasiast
The probiotic-rich kefir not only enhances flavor but also contributes to a healthier baking approach. Your dinner rolls will be soft, slightly tangy, and packed with subtle complexity. This sets them apart from traditional recipes.
Creative Ways to Use Excess Kefir in Baking
Wondering what to do with leftover kefir? Your baking adventures just got more exciting! Kefir is a versatile solution for reducing food waste. It also boosts your baked goods’ nutrition and flavor. Let’s explore creative techniques to transform excess kefir into delicious culinary creations.
Soaking Techniques for Flour
Soaking flour with kefir is a game-changer for your kefir cake and baking projects. This method breaks down phytic acid and gluten. It makes grains more digestible and nutritious. Here’s how you can do it:
- Mix 2 cups flour with 2 1/3 cups kefir
- Let the mixture rest for 8 hours
- Enjoy improved digestibility and nutrient absorption
Alternative Recipe Adaptations
Baking with kefir opens up a world of culinary possibilities. You can easily substitute kefir in various recipes for a healthy cake alternative:
| Baked Good | Kefir Substitution | Benefit |
|---|---|---|
| Muffins | Replace milk/yogurt with kefir | Enhanced moisture |
| Pancakes | Use kefir as liquid base | Improved texture |
| Bread | Substitute water/milk with kefir | Better rise and flavor |
Making Healthier Substitutions
Transform your favorite recipes into nutritious delights by incorporating kefir. Consider these smart swaps:
- Replace half of all-purpose flour with whole wheat flour
- Use a 1:1 gluten-free flour blend for dietary restrictions
- Experiment with different kefir varieties for unique flavors
“Baking with kefir isn’t just about taste—it’s about creating healthier, more nutritious treats that everyone can enjoy.” – Baking Enthuasiast
By embracing these creative techniques, you’ll turn excess kefir into delightful baked goods. You’ll also boost your nutrition and reduce food waste.
Professional Tips for Perfect Kefir Bakes
Mastering kefir baking needs precision and detail. Whether making an easy sheet cake or a quick cake, these tips will improve your kefir baking. They’ll take your kefir sheet cake recipe card to the next level.
- Pan Preparation is Crucial: Grease and dust your baking pan well. Pay extra attention to tube pans with many creases, as cakes often stick there.
- Timing is Everything: Take your cake out of the pan within 15 minutes. This prevents sticking and keeps the texture right.
- Doneness Test: Check if the cake is done by inserting a toothpick into its center. It should come out clean.
Baking temperatures are key for perfect kefir desserts. Keep the oven at 350°F (175°C) for the best results. Baking time is usually 30-35 minutes, depending on your oven.
“The secret to a perfect kefir cake lies in understanding your ingredients and mastering precise techniques.” – Baking Experts
To keep your kefir sheet cake moist and tasty, follow these tips:
| Technique | Recommendation |
|---|---|
| Ingredient Temperature | Use room temperature ingredients for better mixing and consistent texture |
| Mixing | Avoid overmixing to prevent dense cake texture |
| Storage | Store in an airtight container, keeping at room temperature for up to 3 days |
By using these professional tips, your kefir baking will go from good to great. Remember, practice and detail are essential for perfecting your easy sheet cake every time.
Health Benefits of Baking with Kefir
Adding kefir to your baking can change your recipes for the better. It’s a probiotic dessert that adds health benefits to your baked goods. Learn how kefir can make your cakes healthier.
For further inspiration, check out these additional Kefir baking recipes to get ideas on how to incorporate kefir into your everyday baking routine.”
Probiotic Powerhouse
Kefir is packed with over 30 types of good bacteria. It’s a fermented ingredient that helps your gut more than regular baking ingredients. Every bite of kefir cake is full of health benefits for your stomach.
Nutritional Breakdown
- 6-8 grams of protein per cup
- Only 150 calories per serving
- Reduces sugar content by 20-30%
- Increases nutrient bioavailability by 10-15%
Digestive Health Benefits
Using kefir in your baking can help prevent digestive problems by up to 50%. The probiotics in kefir support your gut health, making desserts a healthier choice.
| Benefit | Impact |
|---|---|
| Gut Health Improvement | 35% improvement in digestive markers |
| Probiotic Concentration | More probiotics than traditional yogurt |
| Lactose Tolerance | Up to 99% lactose-free options |
“Baking with kefir isn’t just delicious—it’s a nutritional strategy for healthier eating.” – Nutrition Expert
Choosing kefir for your baking does more than just taste good. It makes your cakes a healthier option that supports your well-being with every bite.
Conclusion
Baking with kefir opens a world of creativity and health benefits. Your kefir sheet cake recipe card is more than a dessert. It’s a way to make traditional baking better. Each slice has about 116 kcal, making it a great choice for those who care about health.
Kefir makes baking more than just a recipe. It adds moisture, texture, and a tangy flavor to cakes and dinner rolls. By mastering techniques like not overmixing and keeping the oven at the right temperature, you can make your baked goods stand out.
Remember, baking is all about practice and trying new things. Knowing how kefir works, like its acidity and flavor boost, helps you make amazing treats. Start with simple recipes, get more confident, and try new things like chocolate chips or natural sweeteners.
Keep exploring the world of baking with kefir. Your kitchen is now a place for making delicious, healthy recipes. Enjoy your baking journey!
