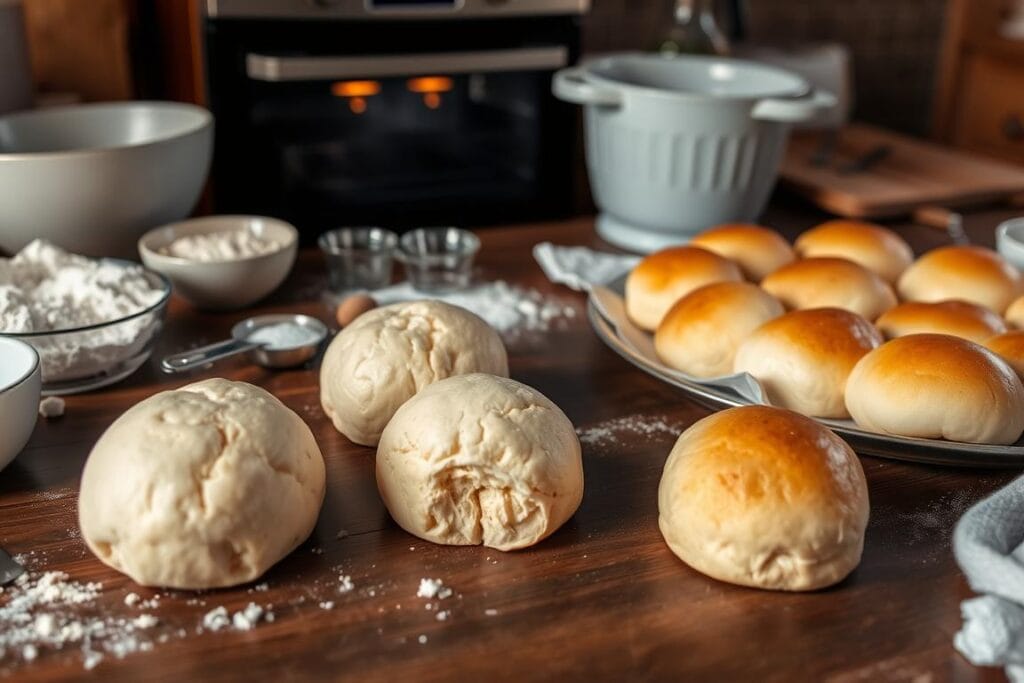
Ever pulled a batch of homemade dinner rolls out of the oven only to find them dense and disappointing? You’re not alone. Making light and fluffy rolls can be a challenge for many home bakers.
To make easy dinner rolls soft and airy, you need to know a few key things. This includes how to activate yeast, choosing the right flour, and the best mixing methods. These steps can turn your dinner rolls from tough to golden and irresistible.
Baking homemade dinner rolls is a mix of science and skill. To make light and fluffy rolls, you first need to know what can go wrong. This knowledge is the first step to success in bread-making.
Key Takeaways
- Yeast freshness is critical for roll volume and texture
- Flour protein content dramatically impacts dough consistency
- Proper mixing prevents tough, dense dinner rolls
- Temperature and moisture play significant roles in dough development
- Understanding ingredient interactions leads to better baking results
Understanding the Role of Yeast in Dinner Roll Success
Yeast is the magic that turns simple ingredients into light, fluffy dinner rolls. It’s key for the perfect bread dough texture. This makes your rolls irresistible.

To bake great dinner rolls, you need to know how yeast works. This tiny creature makes your bread rise and adds rich flavors.
Testing Yeast Activity Before Baking
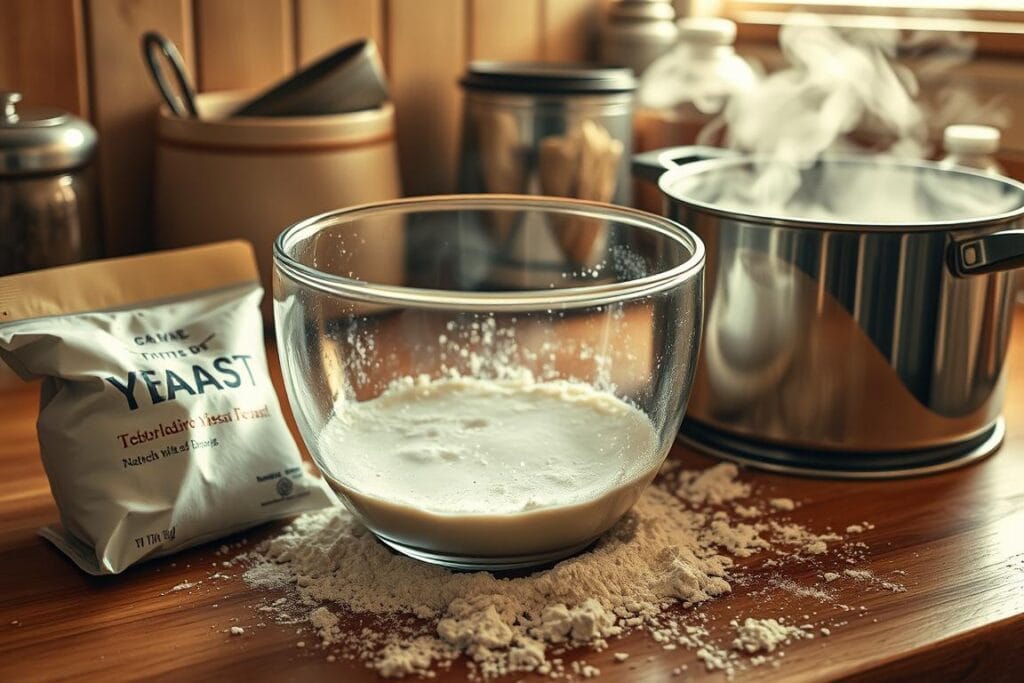
Before starting, check if your yeast is alive and ready. Here’s a simple test:
- Combine lukewarm water (110°F) with a pinch of sugar
- Add your active dry yeast
- Wait 5-10 minutes
- Look for foam or bubbles – a sign of healthy yeast
- For a practical, time-saving recipe, you might also enjoy exploring this quick dinner rolls recipe, which skips the yeast altogether!
Optimal Temperature for Yeast Activation
Yeast loves warm places. The best temperature for it is between 100-110°F. If it’s too cold, it won’t work. If it’s too hot, it dies.
| Temperature Range | Yeast Performance |
|---|---|
| Below 70°F | Slow or No Activation |
| 70-100°F | Minimal Activity |
| 100-110°F | Optimal Activation |
| Above 130°F | Yeast Dies |
Common Yeast-Related Problems
Be aware of these yeast issues:
- Expired yeast can’t rise bread dough
- Salt can stop yeast from activating if added directly
- Wrong water temperature can mess with yeast
“The secret to great bread is understanding your yeast’s needs.” – Professional Baker
Now you’re set to make dinner rolls that will wow your guests.
The Impact of Flour Selection on Roll Texture
Choosing the right flour is key to making perfect dinner rolls. They should be light, tender, and delicious. Different flours can greatly affect your baking, making flour selection very important.

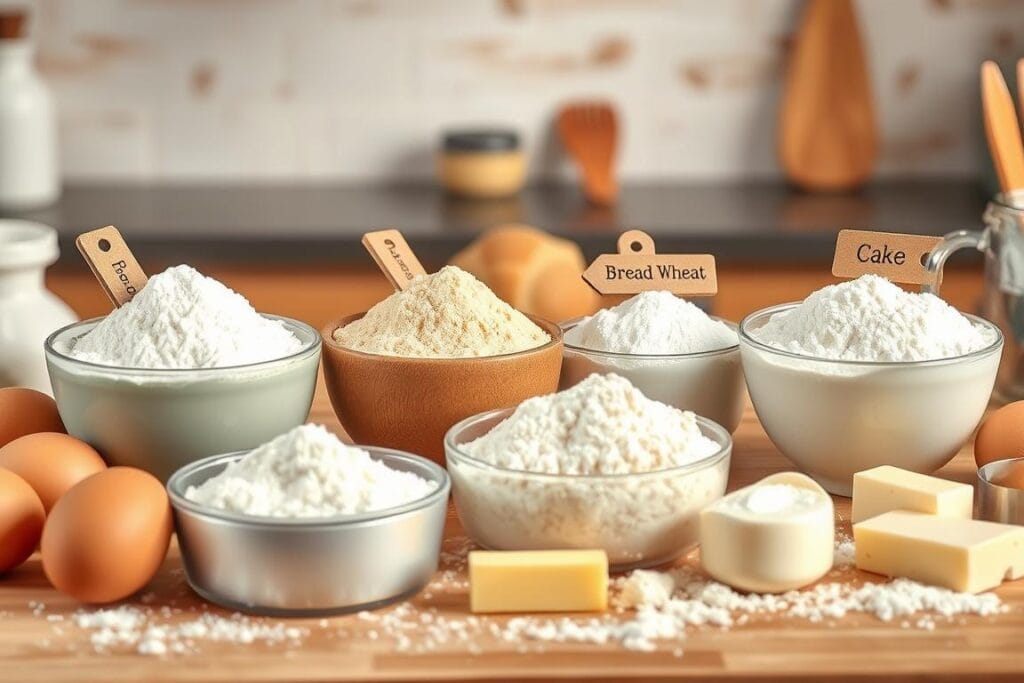
Knowing the protein content in flour helps pick the best one for your rolls. Here’s a quick guide on flour types:
- Bread flour: Contains 11-13% protein, providing strong structure
- All-purpose flour: Ranges from 9-11% protein, offers versatility
- Pastry flour: Lower protein content, makes tender baked goods
“The secret to perfect dinner rolls lies in understanding your flour’s characteristics.” – Baking Expert
King Arthur all-purpose flour, with 11.7% protein, is a top pick for dinner rolls. The protein level affects the rolls’ texture and structure.
| Flour Type | Protein Content | Best Use |
|---|---|---|
| Bread Flour | 11-13% | Rolls with substantial structure |
| All-Purpose Flour | 9-11% | Versatile rolls with balanced texture |
| Pastry Flour | 7-9% | Ultra-tender, delicate rolls |
To get the perfect dinner roll texture, try blending flour types. A mix of bread flour and pastry flour can create rolls that are both strong and tender. Experiment to find your perfect mix.
Essential Tips for Proper Dough Mixing and Kneading
Getting your dough kneading right is key to making dinner rolls that wow everyone. Knowing how to handle bread dough can take your baking from good to great.
Signs of Over-Mixing
Knowing when you’ve mixed the dough too much is important for keeping the rolls light. Look out for these signs:
- Dough becomes extremely tough and resistant
- Texture feels tight and unresponsive
- Gluten strands become overstretched
- Rolls turn out dense and chewy
Hand Kneading vs Machine Mixing
Both hand kneading and machine mixing have their benefits for making perfect no-knead rolls. Here’s what to consider:
| Hand Kneading | Machine Mixing |
|---|---|
| More tactile control | Consistent mixing speed |
| Develops muscle memory | Saves time and effort |
| Connects baker to dough | Uniform dough development |
Achieving the Perfect Dough Consistency
Your dough should feel just right. It should be:
- Slightly tacky but not sticky
- Smooth and elastic
- Springs back when gently pressed
- Relaxed and pliable
“The secret to great rolls lies in understanding your dough’s personality.” – Professional Baker’s Wisdom
Pro tip: If your dough feels too tight, let it rest for 10-15 minutes. This lets gluten relax, making kneading easier and rolls softer.
For ideas on pairing dinner rolls with other comfort dishes, consider trying this sweet potato casserole recipe, a perfect complement to bread rolls.
Quick Dinner Rolls Recipe No Yeast
Craving warm, soft dinner rolls without the hassle of yeast? This quick yeast-free bread recipe will save your meal prep time. It delivers delicious biscuit rolls in just 30 minutes!
When time is tight, these no yeast dinner rolls become your kitchen’s secret weapon. They are simple to prepare with basic ingredients you likely already have in your pantry.
Ingredients You’ll Need
- 1 3/4 cups all-purpose flour
- 2 1/2 teaspoons baking powder
- 1 teaspoon salt
- 2 tablespoons sugar
- 1/3 cup cold butter, cubed
- 2/3 cup milk
Step-by-Step Preparation
- Preheat oven to 350°F
- Mix dry ingredients in a large bowl
- Cut in cold butter until mixture resembles coarse crumbs
- Pour in milk and stir until dough forms
- Shape into 12-14 small rolls
- Place rolls 2 inches apart on baking sheet
- Bake 20-25 minutes until golden brown
*Pro tip*: For extra softness, brush warm rolls with melted butter right after baking!
Nutritional Insights
| Nutrition Facts | Per Serving |
|---|---|
| Calories | 190 |
| Total Fat | 6g |
| Carbohydrates | 29g |
| Protein | 4g |
“Quick, easy, and delicious – these no yeast dinner rolls prove that great bread doesn’t always need rising time!” – Home Baker’s Delight
Storage tip: These yeast-free biscuit rolls stay fresh at room temperature for two days. For longer storage, freeze up to one month!
Mastering the Art of Dough Rising
Bread dough rising is key to making light, fluffy dinner rolls. It needs patience and knowing how yeast works. The right environment is essential for your dough to grow.
Creating the Ideal Rising Environment
To get the best rise, focus on a few things:
- Temperature: Keep it between 75-85°F
- Humidity: Use a damp towel to cover
- Protection: Find a draft-free spot, like a warm oven
Troubleshooting Common Rising Issues
Yeast can be tricky. If your dough isn’t rising, check these things:
- Make sure your yeast is fresh
- Water should be just right, not too hot or cold
- Check the salt amount
“The magic of bread is in its ability to transform simple ingredients through the miracle of fermentation.” – Artisan Baker
The rising environment affects your dinner rolls’ texture. A slow rise in the fridge adds flavor. A warm kitchen speeds up the process.
| Rising Condition | Typical Duration | Expected Outcome |
|---|---|---|
| Warm Environment (75-85°F) | 60-90 minutes | Doubled dough volume |
| Cool Environment (50-65°F) | 2-4 hours | Slower, flavor-enhanced rise |
Pro tip: Always watch your dough, not the clock. The visual and tactile cues are more important than strict time measurements when proofing dough.
The Secret to Achieving Perfect Roll Shape
Making uniform dinner rolls needs precision and practice. Shaping dinner rolls is like an art that turns simple dough into beautiful, consistent bread. Your success comes from careful dough handling and knowing key techniques.
Here are the essential steps to shape your rolls:
- Divide the dough into equal portions using a kitchen scale for accuracy
- Cover unused dough to prevent drying out
- Lightly flour your hands to manage sticky dough
- Allow resting time if the dough feels too springy
Different roll shapes add unique visual appeal and texture. Try these popular roll-shaping methods:
- Traditional Round Rolls: Create smooth, perfect spheres
- Cloverleaf Rolls: Divide each portion into three smaller sections
- Crescent Rolls: Cut dough into triangular pieces and roll
- Knotted Rolls: Twist and loop dough for an elegant presentation
“Uniform roll size is the hallmark of a skilled baker” – Baking Professionals
Pro tip: Practice makes perfect. The more rolls you shape, the more consistent and professional your technique will become. Remember to handle the dough gently to maintain its delicate structure and ensure light, fluffy results.
Temperature and Timing: Keys to Proper Baking
Baking dinner rolls is all about getting the oven temperature and timing right. It’s about mastering the heat and how long to bake. This is key to making your rolls turn out just right.
Oven Temperature Guidelines
The oven temperature is super important when baking dinner rolls. Experts say to preheat to 400°F (204°C). This temperature helps your rolls get a nice golden-brown outside and a soft inside.
- Preheat oven to 400°F
- Use middle rack for even baking
- Ensure consistent oven temperature
Visual Cues for Doneness
To know when your dinner rolls are done, watch them closely. Look for these signs:
- Golden-brown tops with a uniform color
- Slight resistance when gently pressed
- Hollow sound when tapped on the bottom
“The secret to great rolls is watching them closely in the final minutes of baking.” – Professional Baker
Rolls usually bake for 14-16 minutes. For the best results, use a digital thermometer. It should read 200°F inside.
| Baking Stage | Temperature | Time |
|---|---|---|
| Preheating | 400°F | 10 minutes |
| Baking Rolls | 400°F | 14-16 minutes |
| Internal Temperature | 200°F | Check at end |
Pro tip: Brush rolls with melted butter immediately after baking for extra flavor and shine.
Storage Tips for Maintaining Roll Freshness
Keeping your homemade dinner rolls fresh is all about smart storage. The secret to their soft texture and tasty flavor is in how you store them.
First, let your rolls cool down completely before storing. This step is key to avoid making them soggy. It helps keep their texture just right.
“Fresh bread is happiness you can taste, but stored bread is convenience you can enjoy!” – Baking Enthuasiast
Here are some top tips for keeping your bread fresh:
- Cool rolls at room temperature for 30-45 minutes
- Use airtight containers or ziplock bags
- Remove excess air before sealing
- Store at room temperature for 2-3 days
- Refrigerate for longer storage
For storing homemade bread, watch the temperature and moisture. If you’re refrigerating, wrap each roll in plastic wrap or use a sealed container. This keeps them from drying out or picking up odors.
Want to reheat your rolls? Wrap them in a damp paper towel and microwave for 7-8 seconds. This will make them warm and soft again.
| Storage Method | Duration | Recommended Technique |
|---|---|---|
| Room Temperature | 2-3 days | Airtight container |
| Refrigerator | 5-7 days | Wrapped individually |
| Freezer | Up to 1 month | Vacuum-sealed bag |
Pro tip: For the best taste and texture, eat your rolls within 48 hours of baking.
Make-Ahead and Freezing Methods
Want to enjoy fresh, delicious dinner rolls without last-minute stress? Freezing dinner rolls is a game-changing technique. It saves time and ensures you always have delectable bread on hand. Whether you’re preparing for a big family gathering or want convenient make-ahead bread options, frozen dough can be your secret weapon in the kitchen.
- Unbaked Rolls: Shape your dough and freeze on a tray before transferring to a freezer bag
- Baked Rolls: Cool completely before freezing to maintain optimal texture
- Storage Duration: Freeze rolls for up to 3 months in a sealable container
When you’re ready to enjoy your frozen dough, follow these simple steps:
- Thaw frozen unbaked rolls at room temperature
- Allow dough to rise for 2-6 hours before baking
- For baked frozen rolls, reheat in a warm oven at 350°F for 5-7 minutes
“Preparation is the key to delicious, stress-free bread!” – Baking Enthuasiast
Pro tip: Label your freezer bags with the date and type of rolls. This keeps track of your make-ahead bread collection. Your future self will thank you for this organized approach to meal preparation!
. Learn more about troubleshooting bread-making challenges in this comprehensive Wikipedia article on dinner rolls.
Conclusion
Making homemade dinner rolls is a mix of science and passion. Your baking skills will grow with practice. This is true, even when you try no-yeast recipes that are quick and easy.
A great bread recipe needs quality ingredients and the right techniques. Knowing how to use different flours and leavening agents is key. This lets you make soft, fluffy rolls that make any meal better. No-yeast rolls are simple and easy to adapt.
With good baking tips, you can add flavors like herbs, garlic, or cheese. But keep the rolls light. Fresh ingredients, accurate measurements, and gentle mixing are essential for great results. These tips are for both beginners and experienced bakers.
Your baking journey is all about exploring and having fun. Try new things, swap out ingredients, and make the recipe your own. Every batch of rolls is a chance to get better and make something tasty that brings happiness to your table.
